 Photo Video Editor
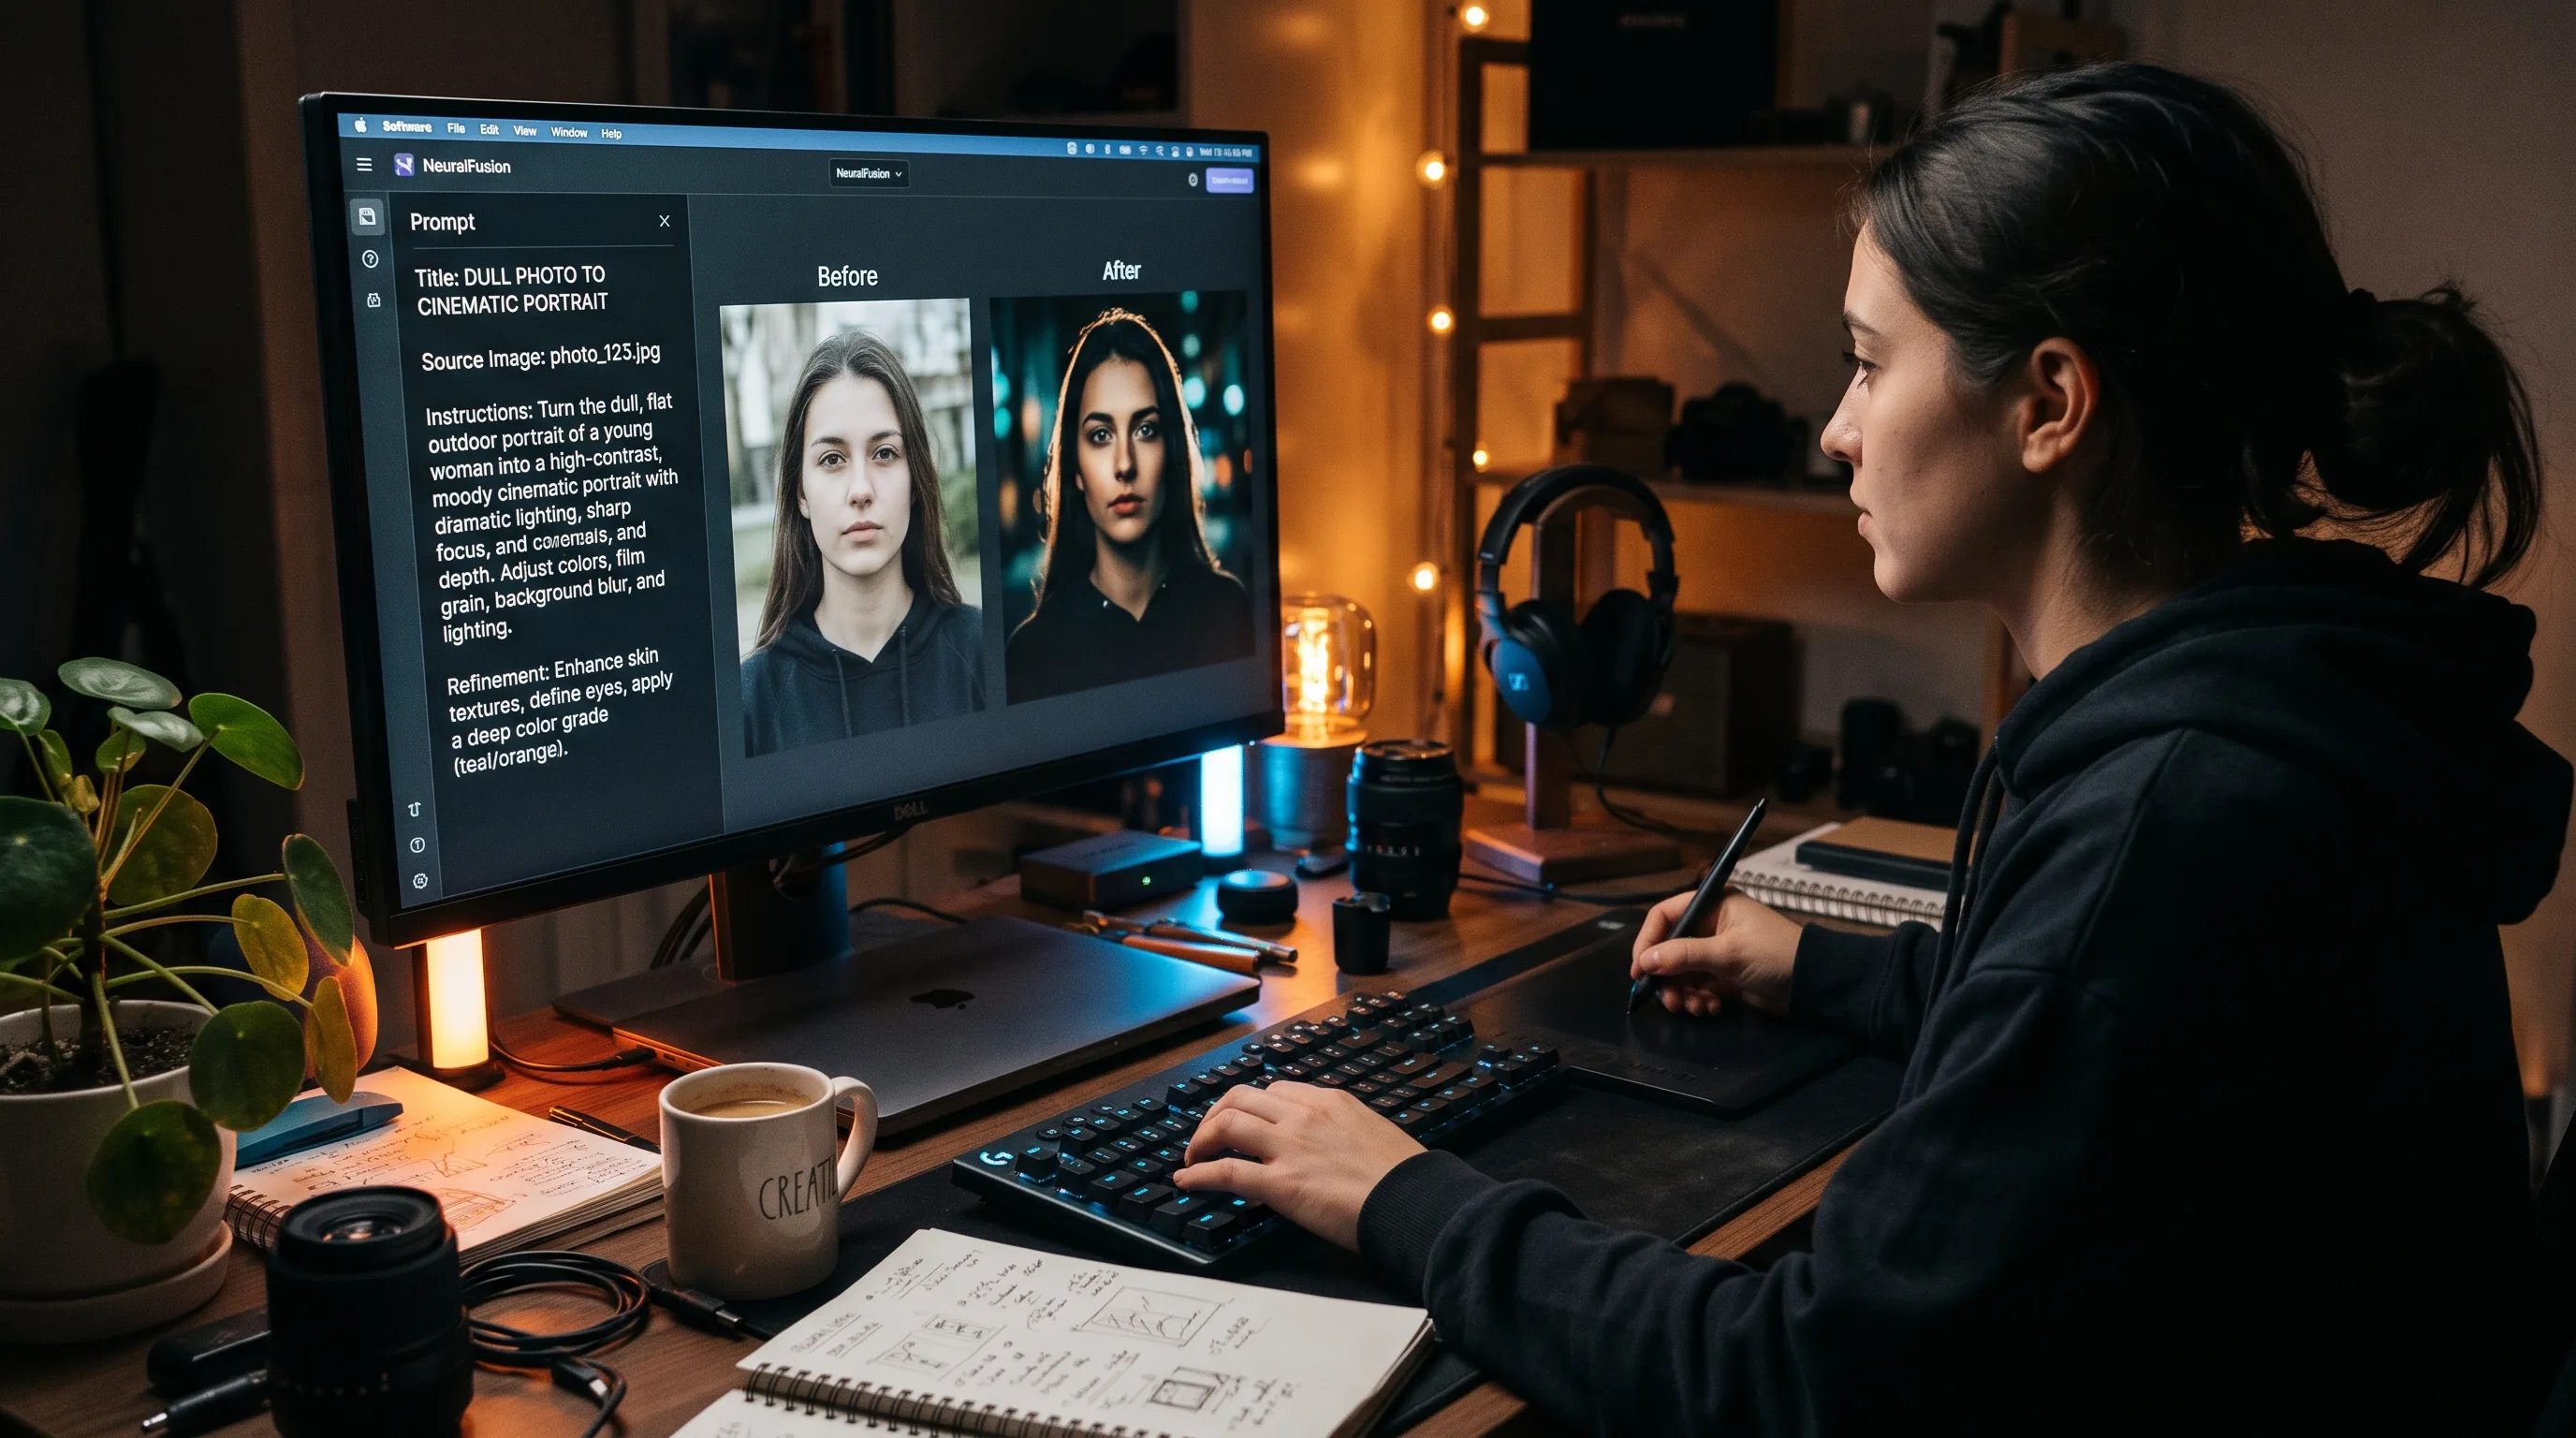
Most AI-generated images look like cheap plastic because the prompt only names the subject and leaves every directorial choice to chance. When you let a model guess the focal length, key-to-fill light ratio, color grading, surface roughness, and negative space, it falls back on the same hyper-polished, oversaturated mid-journey template every time.
Getting studio-grade results requires treating your text input like a tight creative brief. Whether you're running prompts through OpenAI or testing adjustments in an ai photo editor, you need to dictate lighting geometry, lens compression, real-world camera artifacts, and explicit negative constraints. Here is how to direct the engine and 50 production-ready prompts that deliver believable visual assets.
50 ChatGPT image prompts that actually direct the shot
To use these prompts, copy the template, fill in the bracketed variables with your subject specifics, and attach a reference file whenever you need continuity. If you like an output, lock the composition and change only one parameter at a time. This keeps the seed logic stable while refining color tone or object placement.
01. Premium Editorial Headshot
Prompt: Create a premium editorial headshot of [person or role], framed from the chest up and looking directly into the camera. Use a neutral studio background, one large soft key light at 45 degrees, gentle fill, realistic skin texture, clean catchlights and an 85mm portrait-lens look. Wardrobe: [outfit]. Mood: calm, intelligent and confident. Natural color grading, shallow depth of field, high detail. Avoid plastic skin, exaggerated sharpening, warped jewelry, text and logos. Output in [aspect ratio].
02. Cinematic Narrative Close-Up
Prompt: Create a cinematic close-up portrait of [character] during [specific story moment]. Light the face with a motivated source from [window/fire/neon/sign], with deep but readable shadows and a subtle rim light separating the subject from the background. Include [two story details] that imply what just happened. Use an anamorphic film look, restrained grain, realistic pores and expressive eyes. Palette: [colors]. Avoid generic action-poster clichés, excessive lens flare, text and extra fingers.
03. Documentary Lifestyle Portrait
Prompt: Create an authentic lifestyle portrait of [person] in [real environment], captured during an unposed in-between moment. Use soft window light, imperfect natural posture, believable clothing folds and a documentary 50mm-lens perspective. Include small environmental details such as [object 1] and [object 2] to reveal personality. Keep the color palette warm and understated. The image should feel observed, not staged. Avoid stock-photo smiles, spotless props, heavy retouching, text and logos.
Portrait & Face Editing Prompts
When you need to adjust an existing portrait rather than generate one from nothing, reference instructions must prioritize facial landmark preservation. This prevents the model from generating a completely different face.
1. Enhance a Portrait
Prompt: Enhance this portrait photo while keeping the person's identity, facial features, skin texture, hair, clothing, and natural appearance unchanged. Improve lighting, sharpness, exposure, contrast, and overall image quality. Keep the result realistic and professionally retouched without making the skin look artificial.
2. Natural Skin Retouching
Prompt: Retouch the skin in this portrait by reducing temporary blemishes, subtle redness, and uneven blotchiness while strictly preserving natural skin pores, fine lines, freckles, and facial geometry. Do not apply plastic airbrushing, global blurring, or artificial porcelain smoothing.
Background & Object Editing Prompts
Replacing scenery or cleaning unwanted elements requires matching light direction and ambient color bounces. If your subject was shot under warm light, dropping them onto a cool cloudy mountain background without relighting makes them look like a pasted sticker. When you need direct manual control over dropouts without text prompts, using a browser-based tool to remove background from image gives you clean cutouts right on your machine.
29. Seamless Background Replacement
Prompt: Isolate the subject in this image and place them inside [a minimalist Scandinavian living room with morning light]. Match the subject's lighting direction, edge color cast, and depth blur to the new environment so the composite looks natively shot on location.
Color, Lighting & Quality Enhancement Prompts
Tonal grading gives raw images a deliberate aesthetic mood. These prompts work particularly well when calibrating visual identity across social channels or product catalogs.
35. Fuji Film Simulation Grade
Prompt: Color grade this image with a Fuji Classic Chrome analog aesthetic. Produce soft muted greens, gentle highlight roll-off, deep rich skin tones, subtle cyan shadow tinting, and fine silver-halide film grain across midtones.
Understanding Technical Photography Directives for AI Prompts
Generating believable images comes down to lighting physics and optical properties. When you omit camera specs, ChatGPT guesses. When you give precise focal lengths and lighting rigs, the diffusion process locks into real-world constraints.
- Focal Length: Specify 24mm or 28mm for wide environmental shots, 50mm for natural human eye perspective, and 85mm to 105mm for compressed portraits that flatten facial distortion.
- Aperture and Depth of Field: Use f/1.4 or f/2.0 for buttery background separation, and f/8 or f/11 for edge-to-edge sharpness in architecture, group shots, and product flat lays.
- Lighting Modifiers: Call out softboxes, umbrellas, rim lights, snoots, or natural bounce boards. Soft light reduces contrast, hard directional light carves bone structure and product bevels.
- Film Stocks and Grain: Reference specific stocks like Kodak Portra 400 for warm skin tones, Ilford HP5 for rich grainy monochrome, or Cinestill 800T for halation around night lights.
Common AI Prompting Mistakes and How to Fix Them
When an AI image looks bad, the culprit is almost always one of four prompt mistakes:
- Vague Quality Fluff: Words like "photorealistic", "hyperrealistic", "8K", and "award-winning" do nothing. Replace them with concrete optics: "shot on 85mm f/1.8 lens, shallow depth of field, natural skin pores, soft key light".
- No Negative Directives: If you do not say what to avoid, the model defaults to beauty-filter smoothness. Always add negative instructions: "avoid poreless skin, plastic airbrushing, extra fingers, warped text, blown highlights".
- Conflicting Lighting Sources: Prompting for "moody dark shadows" and "bright studio lighting" forces the model to synthesize muddy gray midtones. Pick one key light direction and specify its softness or hardness.
- Overcrowded Scenes: Jamming ten different subjects and props into one prompt scatters attention and causes distorted limbs or melted objects. Pick one hero subject, one supporting prop, and specify clean negative space around them.
By treating each prompt as an art director's shoot plan, you take control back from the diffusion engine. Combine precise optical vocabulary with versatile, browser-based tools, and you will transform generic AI renders into publication-ready visual assets.
Everything in this article works in the browser editor. No watermark, no account.